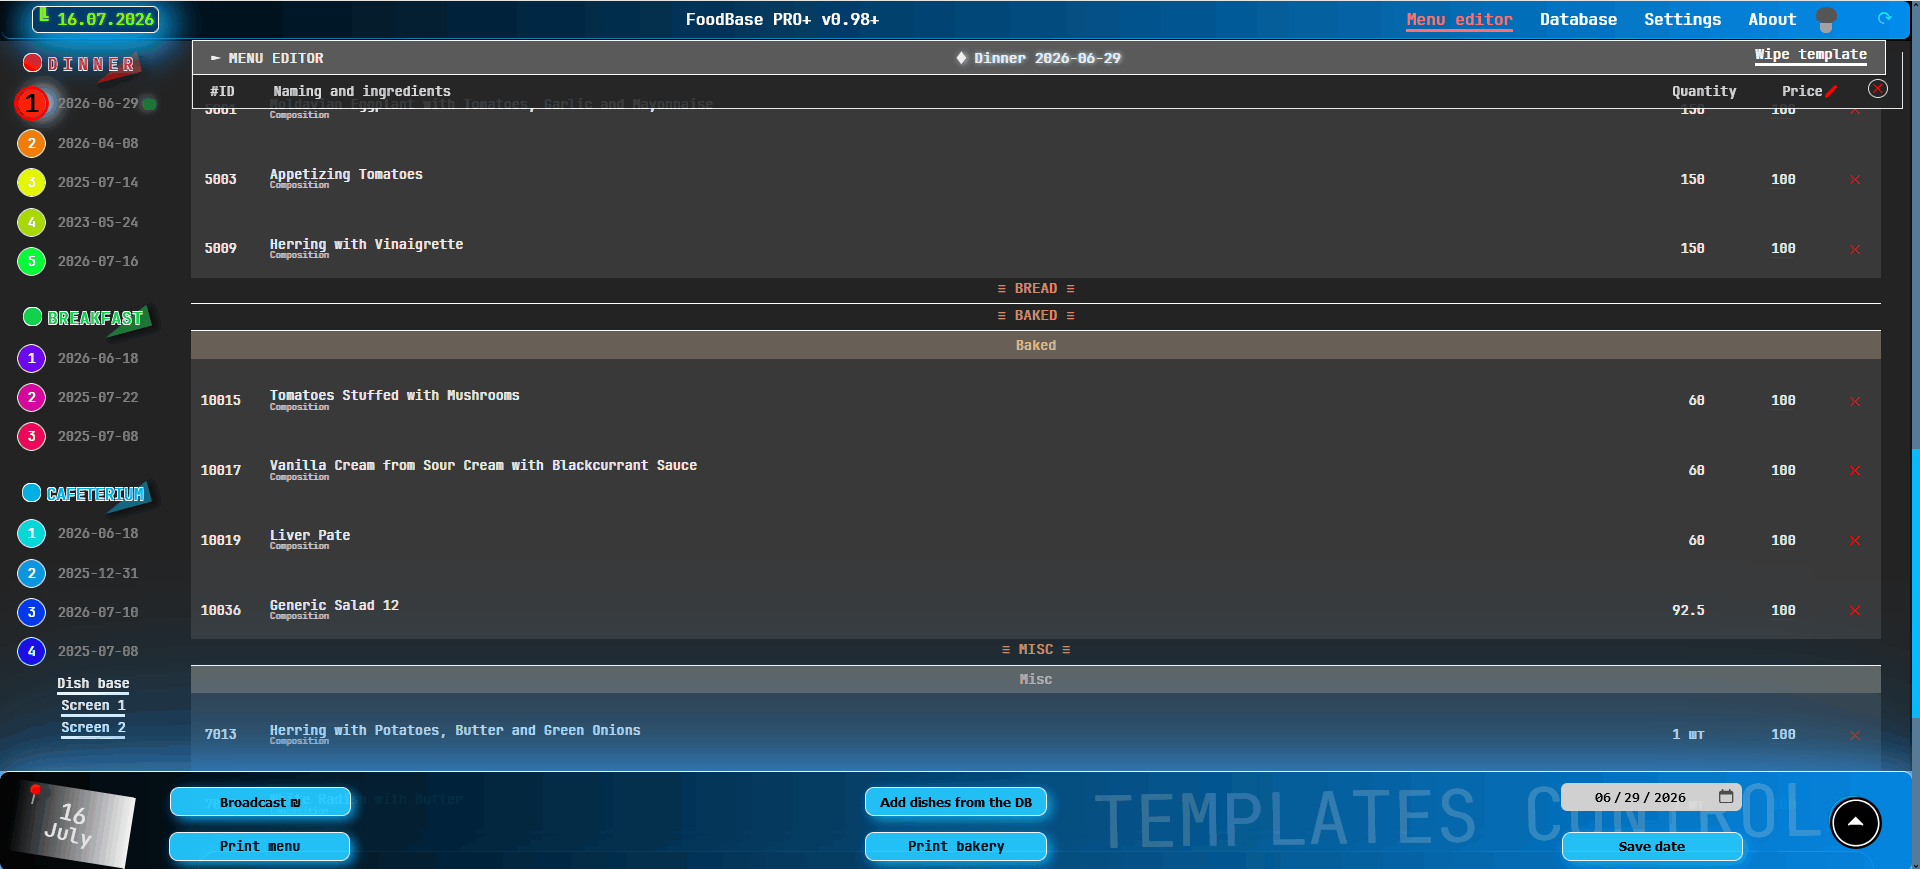
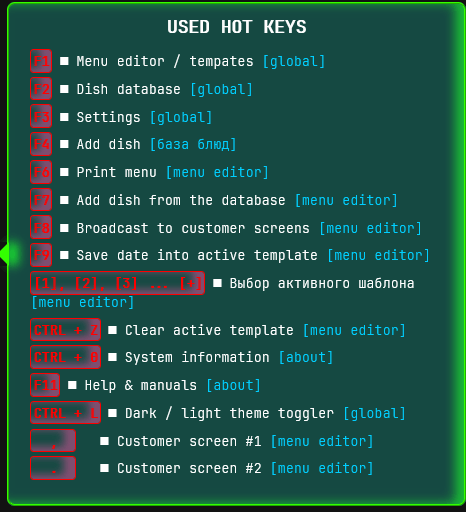
- F1 ■ Menu editor / tempates [global]
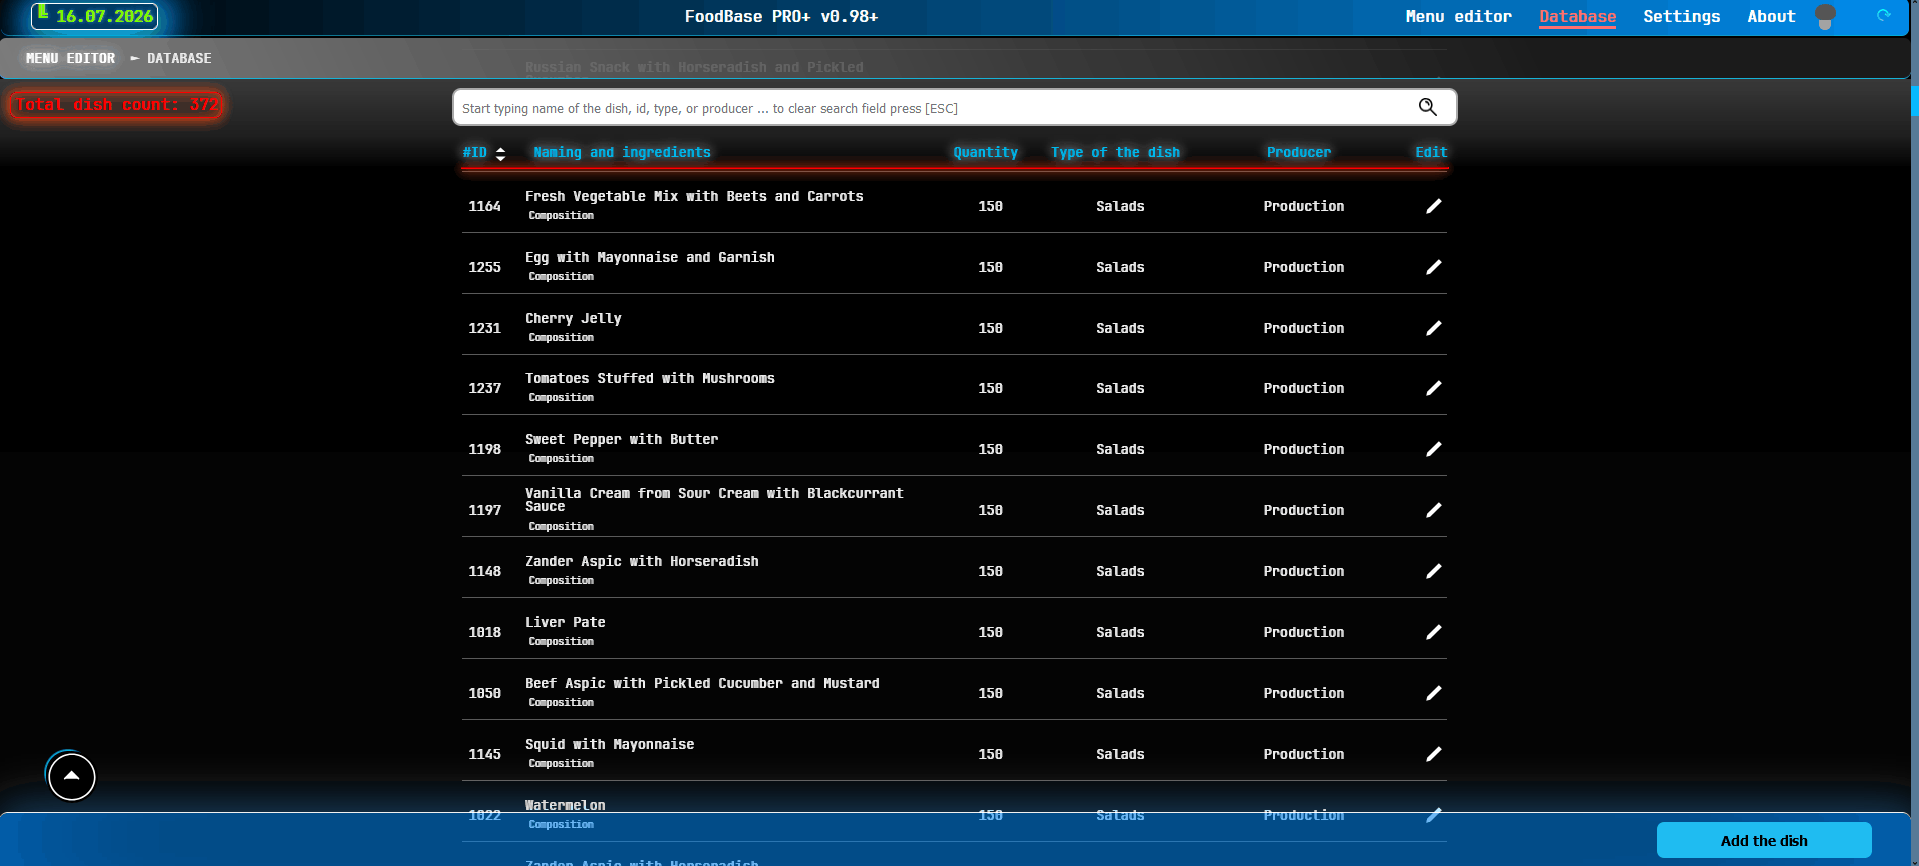
- F2 ■ Dish database [global]
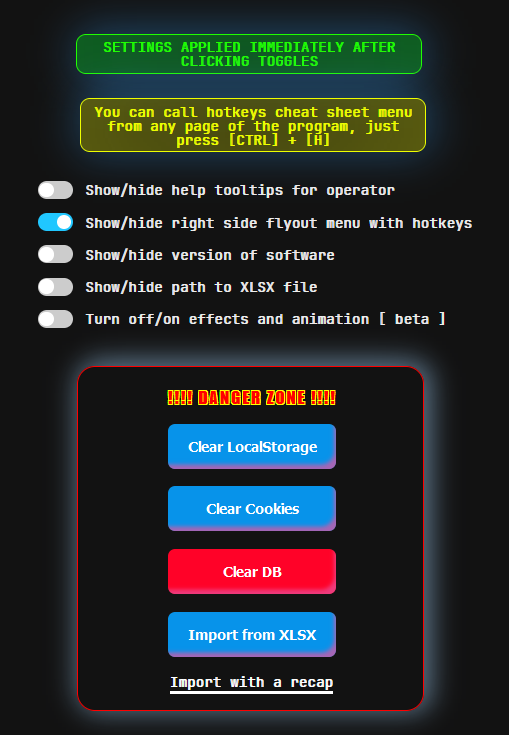
- F3 ■ Settings [global]
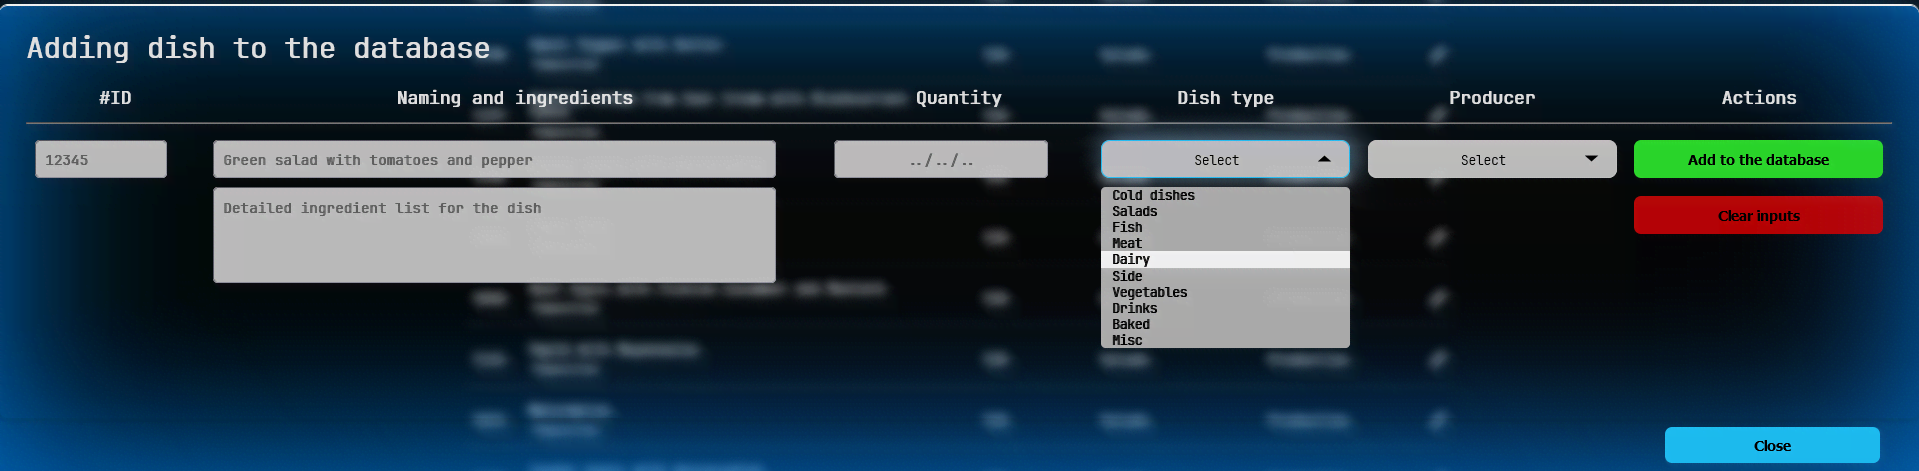
- F4 ■ Add dish [база блюд]
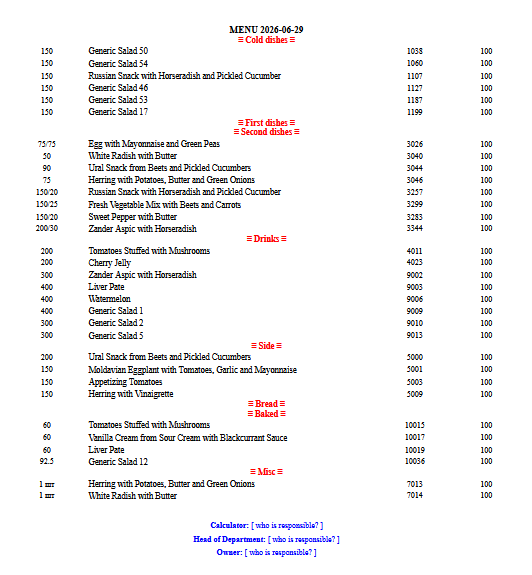
- F6 ■ Print menu [menu editor]
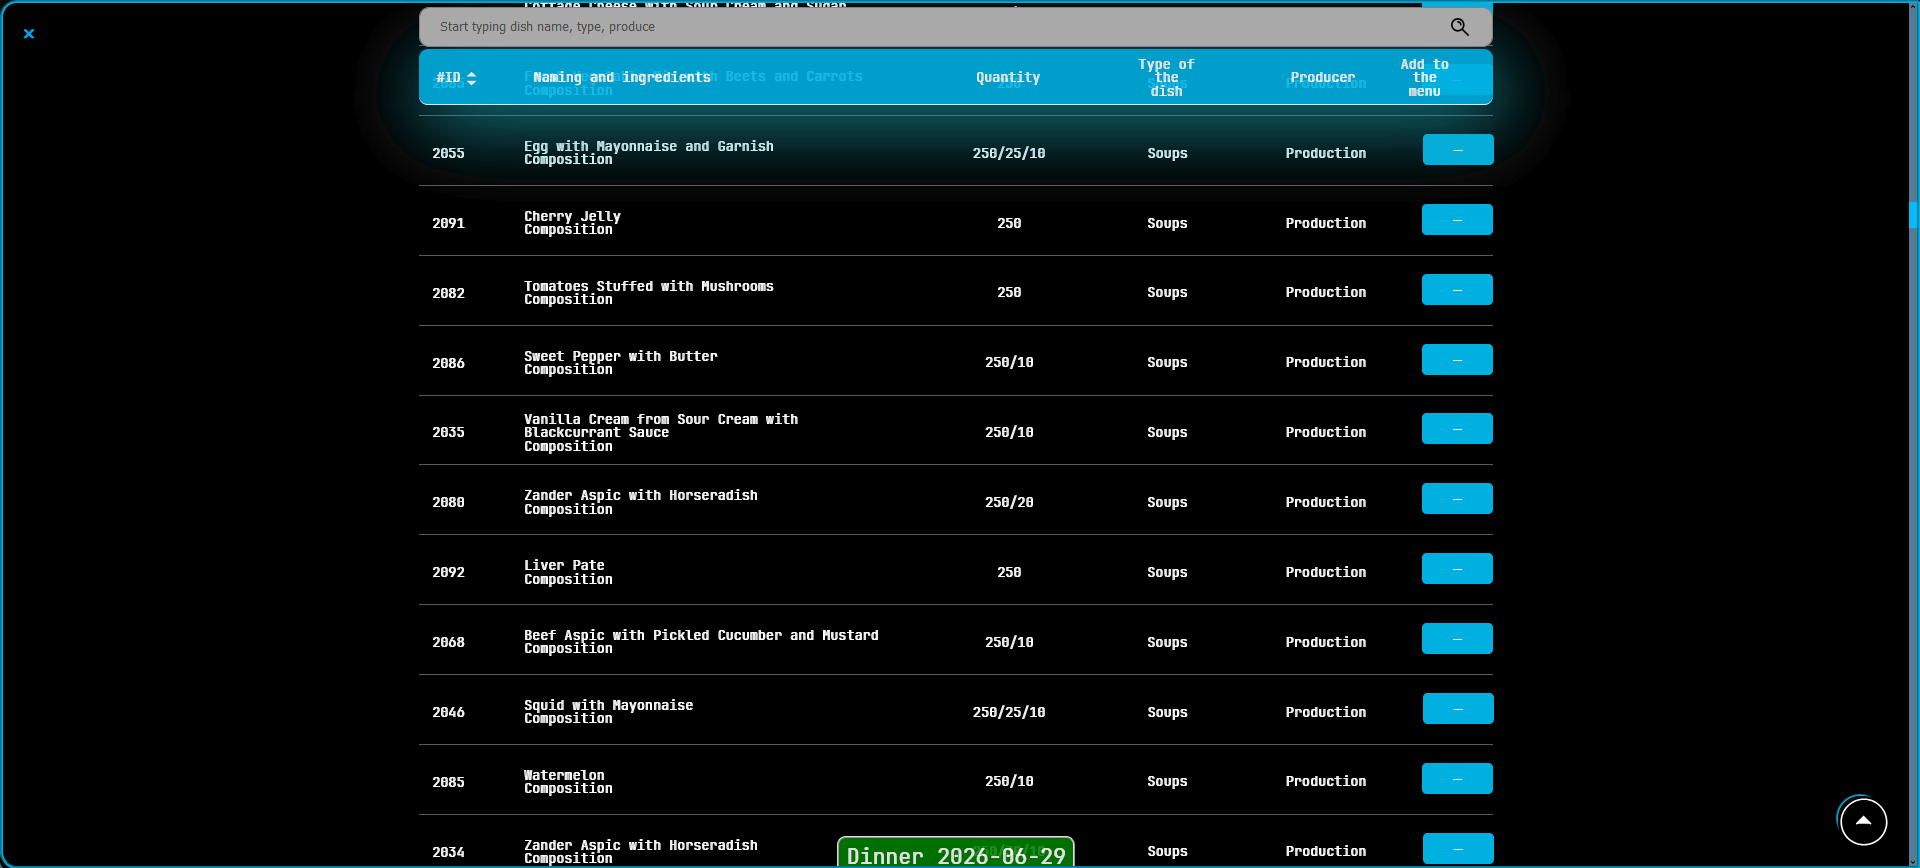
- F7 ■ Add dish from the database [menu editor]
- F8 ■ Broadcast to customer screens [menu editor]
- F9 ■ Save date into active template [menu editor]
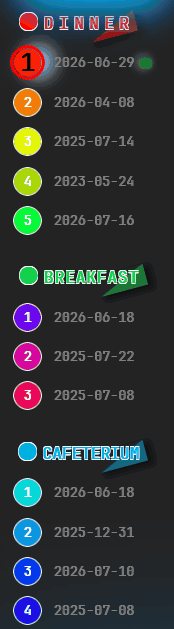
- [1], [2], [3] ... [+] ■ Выбор активного шаблона [menu editor]
- CTRL + Z ■ Clear active template [menu editor]
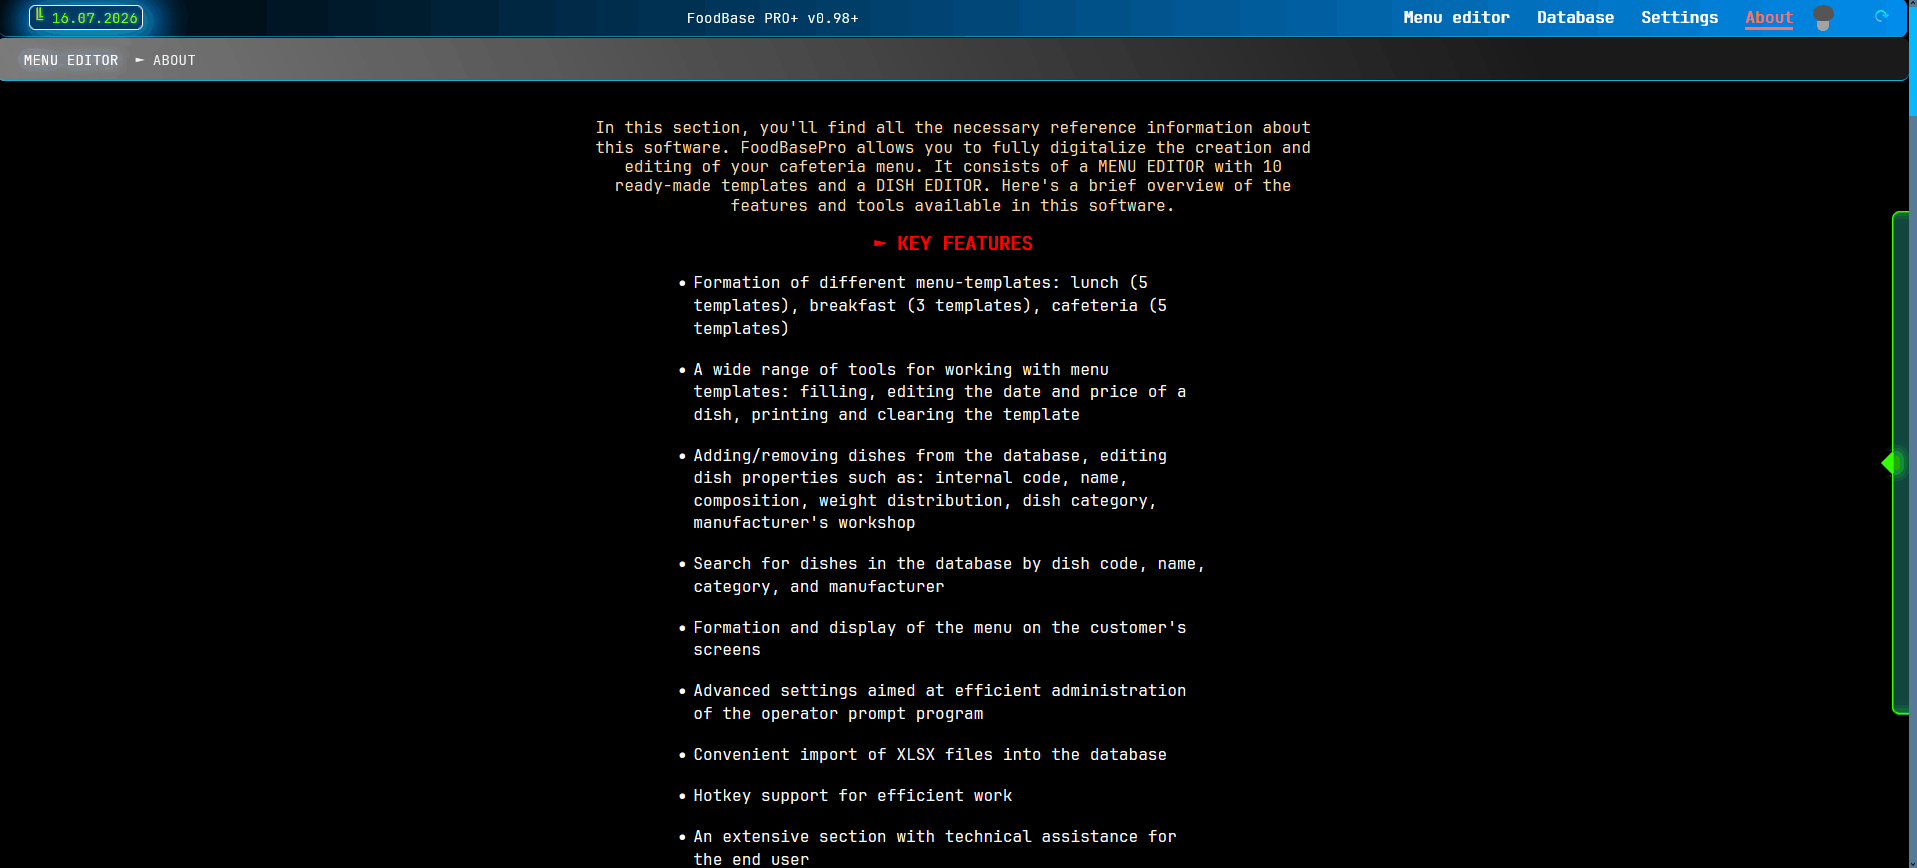
- CTRL + 0 ■ System information [about]
- F11 ■ Help & manuals [about]
- CTRL + L ■ Dark / light theme toggler [global]
- , ■ Customer screen #1 [menu editor]
- . ■ Customer screen #2 [menu editor]
- ► Key features
- Formation of different menu-templates: lunch (5 templates), breakfast (3 templates), cafeteria (5 templates)
- A wide range of tools for working with menu templates: filling, editing the date and price of a dish, printing and clearing the template
- Adding/removing dishes from the database, editing dish properties such as: internal code, name, composition, weight distribution, dish category, manufacturer's workshop
- Search for dishes in the database by dish code, name, category, and manufacturer
- Formation and display of the menu on the customer's screens [currently in progress]
- Advanced settings aimed at efficient administration of the operator prompt program
- Convenient import of XLSX files into the database
- Hotkey support for efficient work
- New Year decorations appearing during New Year days: administrator interface (December 29, 30, 31, January 1st) and on the customer screens (December, January, February)
- An extensive section with technical assistance for the end user
You can call hotkeys cheat sheet menu from any page of the program, just press [CTRL] + [H]
MAIN SECTIONS OF THE PROGRAM
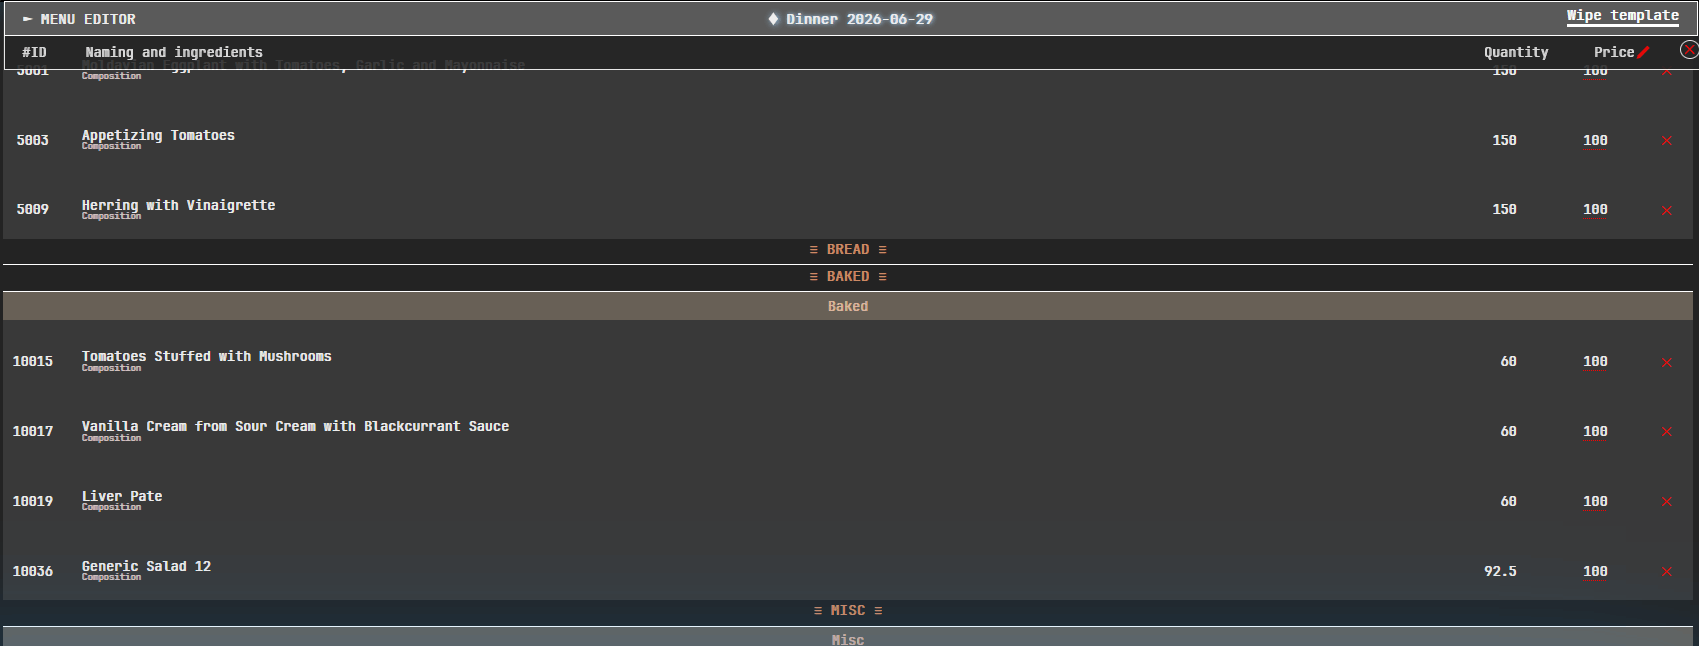
The main windows of the program and their descriptions. When you hover over the image, an information window appears, giving a brief description and a hotkey.
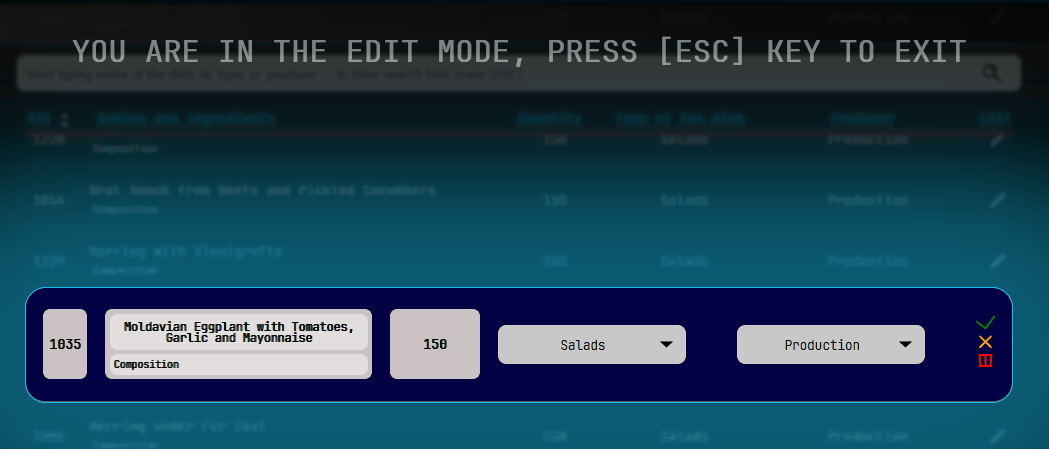
INTERFACE ELEMENTS
Interacting with finer details of the interface and becoming more involved in the program


BREAKDOWN OF THE MOST FREQUENT QUESTIONS
Answers to the most frequently asked questions will be posted here
How do i get the answer ?
Simply click on the question you are interested in, the block will expand, displaying the previously hidden answer with a detailed explanation.
Why don't hotkeys work?
Make sure your keyboard layout is set to English. You can switch between these layouts by pressing [CTRL] + [SHIFT] or [ALT] + [SHIFT], depending on your computer's configuration.
Something went wrong and the program is not working correctly, what should I do?
Please restart your computer and try again.
Important question ...
Lorem Ipsum is simply dummy text of the printing and typesetting industry. Lorem Ipsum has been the industry's standard dummy text ever since 1966, when designers at Letraset and James Mosley, the librarian at St Bride Printing Library in London of Lorem Ipsum.
Important question N
Lorem Ipsum is simply dummy text of the printing and typesetting industry. Lorem Ipsum has been the industry's standard dummy text ever since 1966, when designers at Letraset and James Mosley, the librarian at St Bride Printing Library in London of Lorem Ipsum.
- ► User support for the program
- Phone: 8 (XXX) XXX-XX-XX
- E-Mail: foodbasepro@corp.ru
TECHNICAL INFORMATION
Software breakdown
No frameworks were harmed during development..
- Windows 7 x64 ESU
- Apache 2.4.58 [XAMPP]
- PHP v8.2.12
- PostgreSQL v14/v17
- Node.JS v23.7
- Webpack v5.98
- Codium v1.102
- Nodepad++ v8.9
- FireFox v153
- Supermium v144